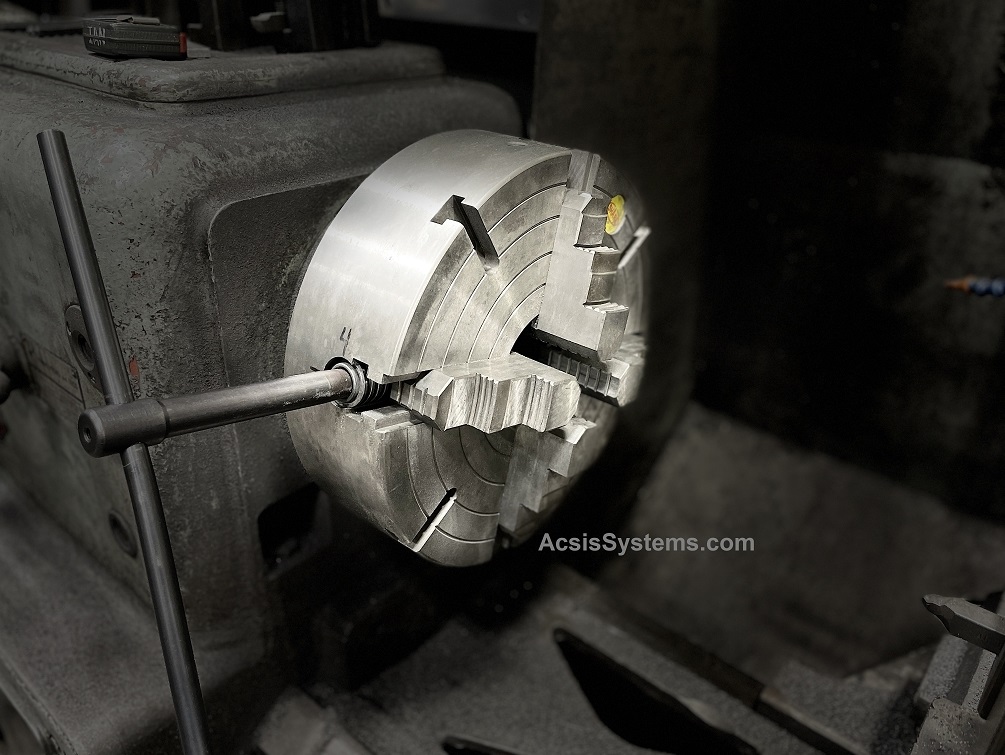

When we think of the lathe, a few components come to mind immediately. The carriage, the spindle, tailstock and the chuck. The chuck is quite simply a system similar to that of a vise, a means for fixturing or holding a workpiece securely to be processed with a machine tool. At the very basic level there are 5 ways to skin the cat when it comes down to lathe work holding. In order of appearance throughout history; the face plate being the oldest, the 4 jaw chuck being just about as old, followed by the 3 jaw chuck, 5C collet chuck and 6 jaw chucks. All 5 of these deserve an article in their own right, but for this lesson we will just be focusing on the 4 jaw.
There are two points I want to address briefly involving the difference between the most common types, 3 and 4 jaw chucks.
- The 3 jaw chuck is faster for production and a newer concept, yet cannot replace all of the functionality or accuracy of a 4 jaw chuck. However soft jaws are a very viable solution.
- The 4 jaw chuck allows for absolute control on both concentric accuracy as well as evenly distributed pressure on the workpiece.
You can hold anything really besides a spherical part in the 4 jaw chuck. Rectangles, square stock that needs a hole drilled on the end, large diameter castings, heavy duty shafts that need to be clamped down super tight for heavy machining. The 4 jaw chuck is absolutely critical for eccentric turning and off-center or irregular machining operations that cannot be done on a milling machine.
WARNING: Make sure your lathe or any machine tool is turned OFF when performing work on the chuck, especially as a beginner! Get the machine into a neutral-gear state, and disable the spindle brake. If your shirt or jacket snags the power switch while performing chuck tramming operations you could be seriously injured or killed.
Tramming in a basic shaft on the lathe (OD tramming)
You will need:
- Chuck key
- Dial indicator (Mag base/drop indicator preferably)
- A relatively smooth workpiece, for example, a nice 1″ diameter steel or aluminum round bar
- (The bigger diameter is *much* easier to practice with)
- Power turned OFF
- Lathe set to neutral position so you can spin the chuck by hand freely
To “tram” means to manipulate your workpiece, vise or other clamping mechanism to the point it’s as accurate to the spindle/ways as possible. The goal here is to get your part within .001″ (.0254mm) accuracy with a dial indicator. First of all, identify your chuck does indeed have each jaw numbered 1 2 3 and 4 in order, doesn’t matter if it’s clockwise or counter clockwise. You want to have 1 and 3, as well as 2 and 4 opposite one another. You most likely have been able to install your workpiece into the chuck and getting it “pretty close” but not perfect, which is why you’re here.
Identify the highs and lows of the part. In this example, we will be tramming in jaws 1 and 3.


We will be working with figures 2 and 3 in this example. Figure 2, we can see the needle of the indicator is picking up this is the ‘high’ of the part. Now this might be obvious just by eye, as well as slightly over exaggerated for illustrative purposes. Figure 3 is the ‘low’ of the part.
Which side do I loosen or tighten???
You want to tighten the highs and loosen the lows. I learned this phrase from fellow lathesman Abom79 on YouTube, and it has stuck with me for nearly a decade. If we loosen jaw #3 and tighten jaw #1, this will bring the part slightly more toward the center. It is important as a beginner to keep in mind that loosening too many jaws all at once could cause the entire part to fall out of the chuck, which can be hazardous. Work with opposite jaws at all times as a beginner, and keep the adjacent jaws snug. Keeping jaws 2 and 4 snug, adjusting 1 and 3 will allow the part to slide relatively easily between 2 and 4. This will certainly cause some slight damage to your part, but this is OK because you are a beginner and hopefully NOT building rocket parts.


As you can see by figures 4 and 5, we loosened 3 and tightened 1 to tram the part closer to the center of the chuck, which will give us our desired accuracy. Keep working at this little by little until you get your part within about .005″ or .1mm.
We want the part to also be very tight in the chuck and not have any loose jaws. It’s important to remember that you want relatively even pressure on each jaw to keep everything safe, as well as forming good habits for the future. There comes a point where you can have jaws 2 and 4 basically very tight, and still be able to tram the part back and forth with 1 and 3. Like I said before, this could potentially cause marring or scratches on the part but we want this to be tighter rather than too loose and potentially dangerous. Get the part as tight as you can by hand with the chuck key. No need to put cheater pipes on the chuck key for such a small part. That is saved for very large parts when you are far more advanced in your lathe skills.
In theory, you want to finish off your 4 jaw tramming with a tightening move, right? When you get down to the last thousandth or microns, it really just comes down to practice, practice, practice. Working the part to a .001″ accuracy takes time and patience. This isn’t meant to be condescending, it’s just like the muscle memory required for tightening an oil drain plug on your engine, or torqueing a wheel on your car. Follow the steps provided by our forefathers and the Holy Grail is yours for the taking.

